Phases
Phases represent billing periods for your work. They link to contracts and define date ranges for invoicing. When you’re ready to bill a client, you create an invoice from one or more phases.
Understanding Phases
A phase is a defined period of work that will be billed together. A phase can be a sprint, a month, or whatever is meaningful to you or your customer. Common examples:
- Monthly billing - Create a phase for each month
- Project milestones - Create phases for major deliverables
- Sprint cycles - Create phases aligned with development sprints
- Quarterly periods - Create phases for quarterly billing
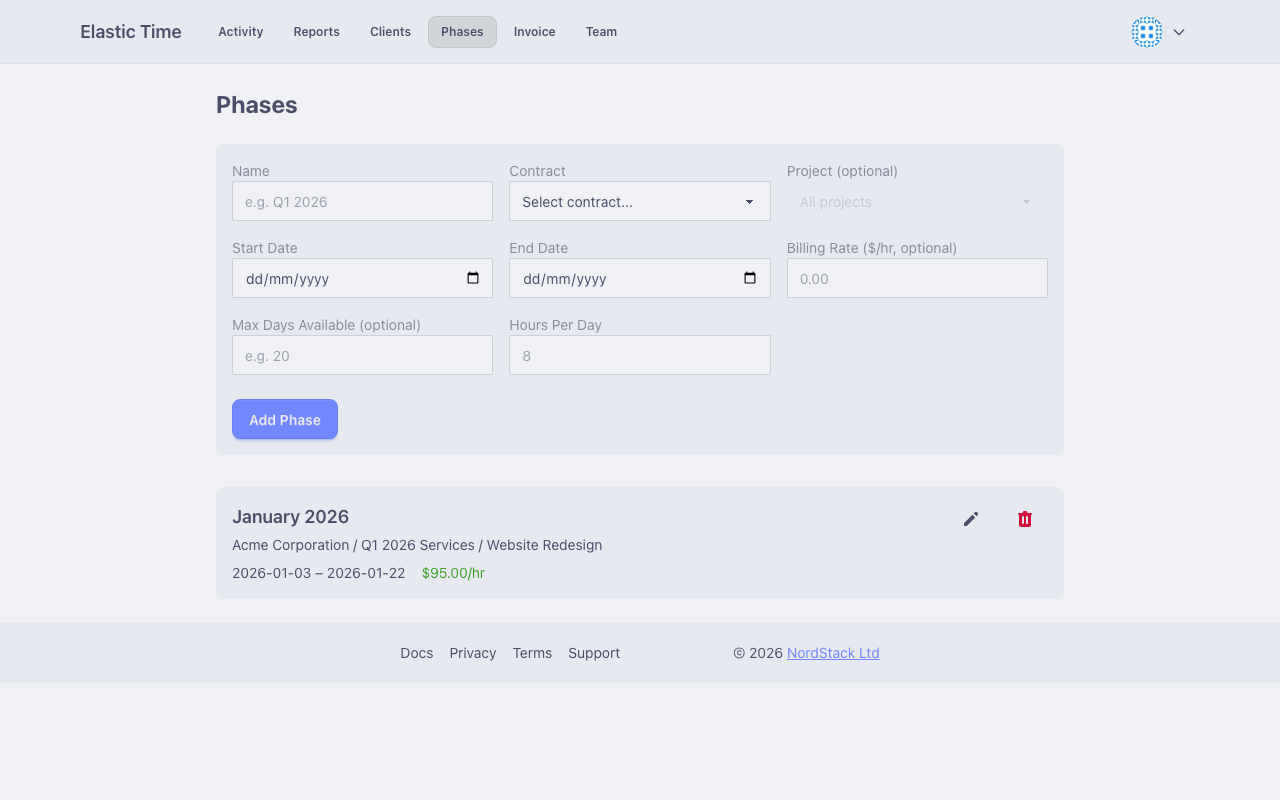
Creating a Phase
- Go to Phases
- Click “Add Phase”
- Fill in the phase details:
- Name - Descriptive name (e.g., “January 2024”, “Sprint 15”)
- Contract - Select the contract for billing terms
- Date Range - Start and end dates for the period
- Project - Optionally scope to a specific project
- Billing Rate - Override the contract rate if needed
Phase Fields
Name
A descriptive name that identifies this billing period. This appears on invoices, so use clear naming:
- “January 2024”
- “Q1 Development”
- “Website Launch Phase 2”
Contract
Select which contract this phase belongs to. The contract determines:
- The client being billed
- The default billing rate
- The currency for the invoice
Date Range
Define the start and end dates for work included in this phase. When filtering reports or generating invoices, only activities within this range are included.
Project (Optional)
Optionally scope the phase to a specific project. When set:
- Only activities linked to this project are included
- Useful when a client has multiple ongoing projects with different billing
When not set, all activities for the client within the date range are included.
Billing Rate Override
By default, phases use the billing rate from their contract. Override this for:
- Special pricing arrangements
- Rate changes mid-contract
- Different rates for different types of work
Using Phases in Reports
Phases integrate with the Reports page:
- Go to Reports
- Select a phase from the Phase dropdown
- The date range and filters auto-populate
- View hours and billing calculations
Managing Phases
Viewing Phases
The Phases page shows all your phases with:
- Phase name and date range
- Contract and client information
Editing Phases
Click a phase to edit its details. Changes affect future invoice generation but don’t modify already-created invoices.
Invoicing from Phases
When you’re ready to bill:
- Go to Invoice
- Select one or more phases from the same contract
- Preview and customize the invoice
- Download the PDF
See Invoices for detailed invoicing documentation.
Hierarchical Phases
Phases can be hierarchical for tracking time budgets against annual or long-term contracts.
Setting Up a Parent Phase
- Create a parent phase for the overall period (e.g., “2026”)
- Set the date range to cover the full contract period
- Set Maximum Days to define the contractual time budget (e.g., 500 days)
Creating Child Phases
Create monthly or sprint phases within the parent period:
- Use the same contract as the parent phase
- Set the date range for the specific billing period
Child phases automatically track against the parent’s maximum when they share the same contract and fall within the parent’s date range.
Tracking Usage
With hierarchical phases, each child phase displays:
- Days used so far - Total days consumed across all child phases
- Current phase - Days logged in this specific phase
- Remaining - Days left until the maximum is reached
This makes it easy to monitor consumption against annual contracts and avoid overruns.
Example
For a 500-day annual contract:
- Create parent phase “2026” with maximum 500 days
- Create “January 2026” as a child phase
- Create “February 2026” as a child phase
- Each month shows cumulative usage and remaining allocation