Clients & Projects
The Clients section helps you organize your work by client and project. Each client can have multiple projects, contracts, and billing information.
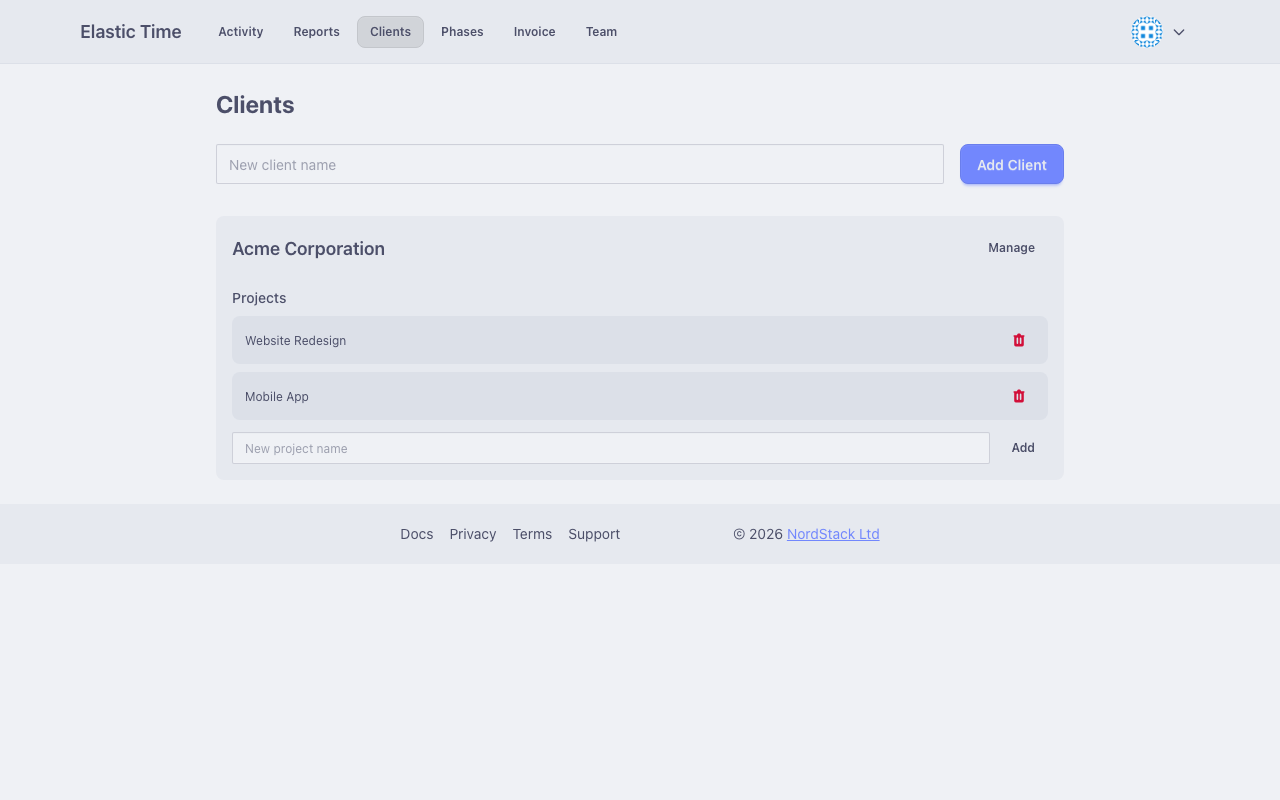
Managing Clients
Creating a Client
- Go to Clients
- Click “Add Client”
- Enter the client name
- Save to create the client
Client Details
Click on a client to view and edit their details:
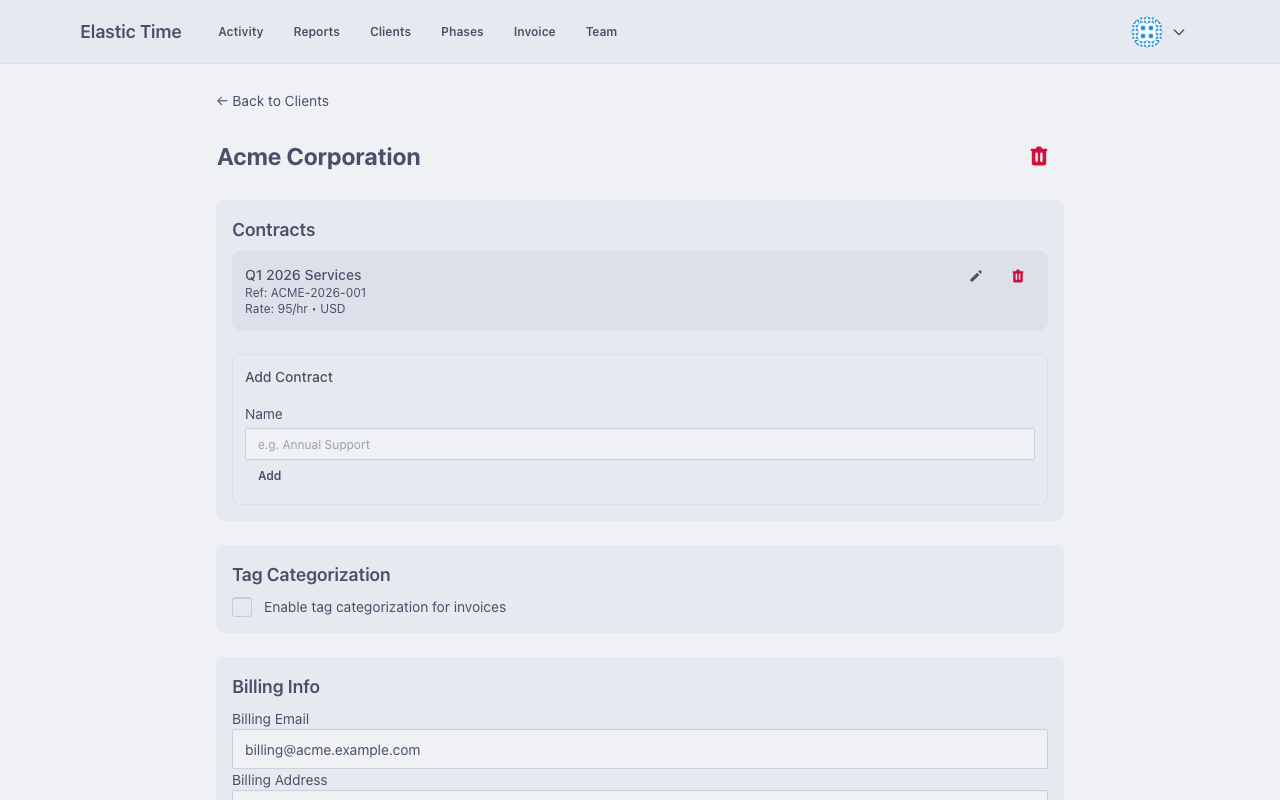
- Name - The client’s business name
- Billing Address - Used on invoices
- Billing Email - Where invoices are sent
- Ticket URL Prefix - For linking tags to external issue trackers
Projects
Projects belong to clients and help organize your work further.
Creating a Project
- From the Clients list, find the client
- Click “Add Project”
- Enter the project name
- Save to create the project
Project Usage
Projects appear in:
- The activity project dropdown (grouped by client)
- Report filters for scoping data
- Phase configuration for billing specific work
Billing Information
Store billing details per client for use in invoices:
Billing Address
The client’s billing address appears on generated invoices. Enter the full address including:
- Company name (if different from client name)
- Street address
- City, state/province, postal code
- Country
Billing Email
The email address where invoices should be sent.
Ticket URL Prefix
Configure a URL prefix to link activity tags to your external issue tracker.
How It Works
- Set the prefix (e.g.,
https://jira.company.com/browse/) - When exporting to HTML, tags become clickable links
- A tag like
PROJ-123links tohttps://jira.company.com/browse/PROJ-123
Supported Systems
This works with any ticket system that uses URL-based issue linking:
- Jira (
https://yourcompany.atlassian.net/browse/) - GitHub Issues (
https://github.com/org/repo/issues/) - Linear (
https://linear.app/yourteam/issue/) - GitLab Issues (
https://gitlab.com/org/repo/-/issues/)
Tag Categorization
For clients with diverse work types, enable tag categorization to group activities for invoicing.
Enabling Tag Categories
- Open the client details
- Enable “Tag Categorization”
- Define your categories
Defining Categories
Each category has:
- Name - Internal reference (e.g., “Development”)
- Invoice Label - Text shown on invoices (e.g., “Software Development Services”)
- Tags - List of tags that belong to this category
You don’t need to define all categories and tags ahead of time. When tag categorization is enabled for a client, you’ll automatically be prompted to create new categories or link new tags when filling in each activity.
How It Works
When generating invoices for this client:
- Activity time is grouped by the categories that the activity is tagged with
- If an activity has tags in multiple categories, the time is evenly split between them
- Uncategorised activities are grouped into a default invoice entry, which can be defined on the client page
Example
Categories for a software consulting client:
| Category | Invoice Label | Tags |
|---|---|---|
| Development | Development Services | dev, feature, bugfix |
| Support | Technical Support | support, helpdesk |
| Meetings | Consultation | meeting, call |
Team Access
You can grant team members access to specific clients. See Team for details on inviting colleagues and assigning them to clients.